
Importing data on Windows
Import is available on Windows and not on Android. It accepts a CSV or Excel file containing stocks and funds, then adds or updates those securities in the support you choose.
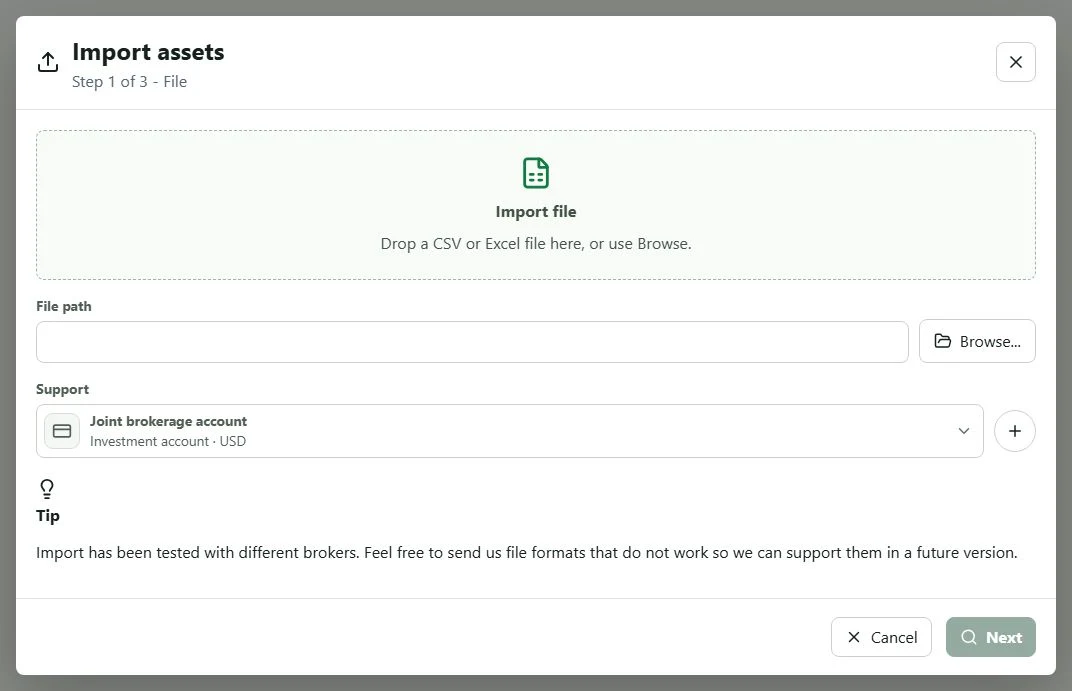
Before importing
- Open or create the wealth file that will receive the data.
- Save the
.mywealthfile before an important operation. - Create the support that will receive the securities and check its ownership.
- Open the main menu, then select Import….
- Drop the CSV or Excel file into the dialogue, or use Browse.
- Select the destination support, then choose Next.
My Wealth looks in the file for the information required for stocks and funds, such as symbol, name, currency, quantity, and purchase price. If the format does not contain the mandatory values or is not recognised, no import is applied.
Checking detected securities
The second step displays one row per detected security. Before starting the import:
- tick only the rows you want to keep;
- check the ticker status: Found means the symbol could be identified, while Not found requires verification;
- check the name, currency, quantity, and purchase price;
- read the asset status to distinguish a New security from an Existing one.
Then choose the desired behaviour:
- Add to the support without changing existing assets keeps existing securities and adds selected rows;
- Update assets in the support updates matching securities from the file;
- Clean the support removes securities absent from the import from the support;
- Also delete the asset from history also erases their former traces. Enable this last option only if you no longer want to keep their past evolution.
Select Import only after checking the support, rows, and mode. The last step states how many assets were added, changed, or deleted.
Checking the result
After the import:
- open Portfolio and check several imported items;
- check their symbol, quantity, purchase price, currency, and support; check ownership at support level;
- open Situation and check gross and net wealth;
- if a total is partial, complete the conversions under Properties > Exchange rates;
- check that every imported security is linked to the expected support.
If imported data is incorrect, correct the relevant item before continuing with goals, the budget, or analyses.
Moving to Android afterwards
Windows and Android read the same .mywealth format. After importing, finish saving on Windows and wait for your file provider to finish synchronising before opening the document on Android.